Email Server
Set up access to a Simple Mail Transfer Protocol (SMTP) email server in your Alteryx One Platform workspace. Use the email server to send user-defined emails in Alteryx One apps and system-generated emails, including Mission summaries and report PDFs.
Importante
To access this page, you must have a Workspace AdminAmministratore dello spazio di lavoro role assigned to you.
Limitations
Data from Alteryx One apps and attachments is generally not allowed for security reasons. Auto Insights supports attachments, subject to size limits.
Email support is currently available for Plans only. When enabled, mission summaries and report PDFs are sent through the configured email server. Additional apps will be supported in future releases.
By default, emails are sent from no-reply@mail.alteryxcloud.com. If you configure a custom email server, mission summaries and report PDFs are sent from that server instead.
Nota
Only some email functions in Auto Insights, such as mission and report sharing, use the configured email server. Other emails, including user invites, are still sent through the Mailgun service.
Email Server Setup
Follow these steps to set up an SMTP email server in your Alteryx One workspace…
Sign in to your Alteryx One workspace.
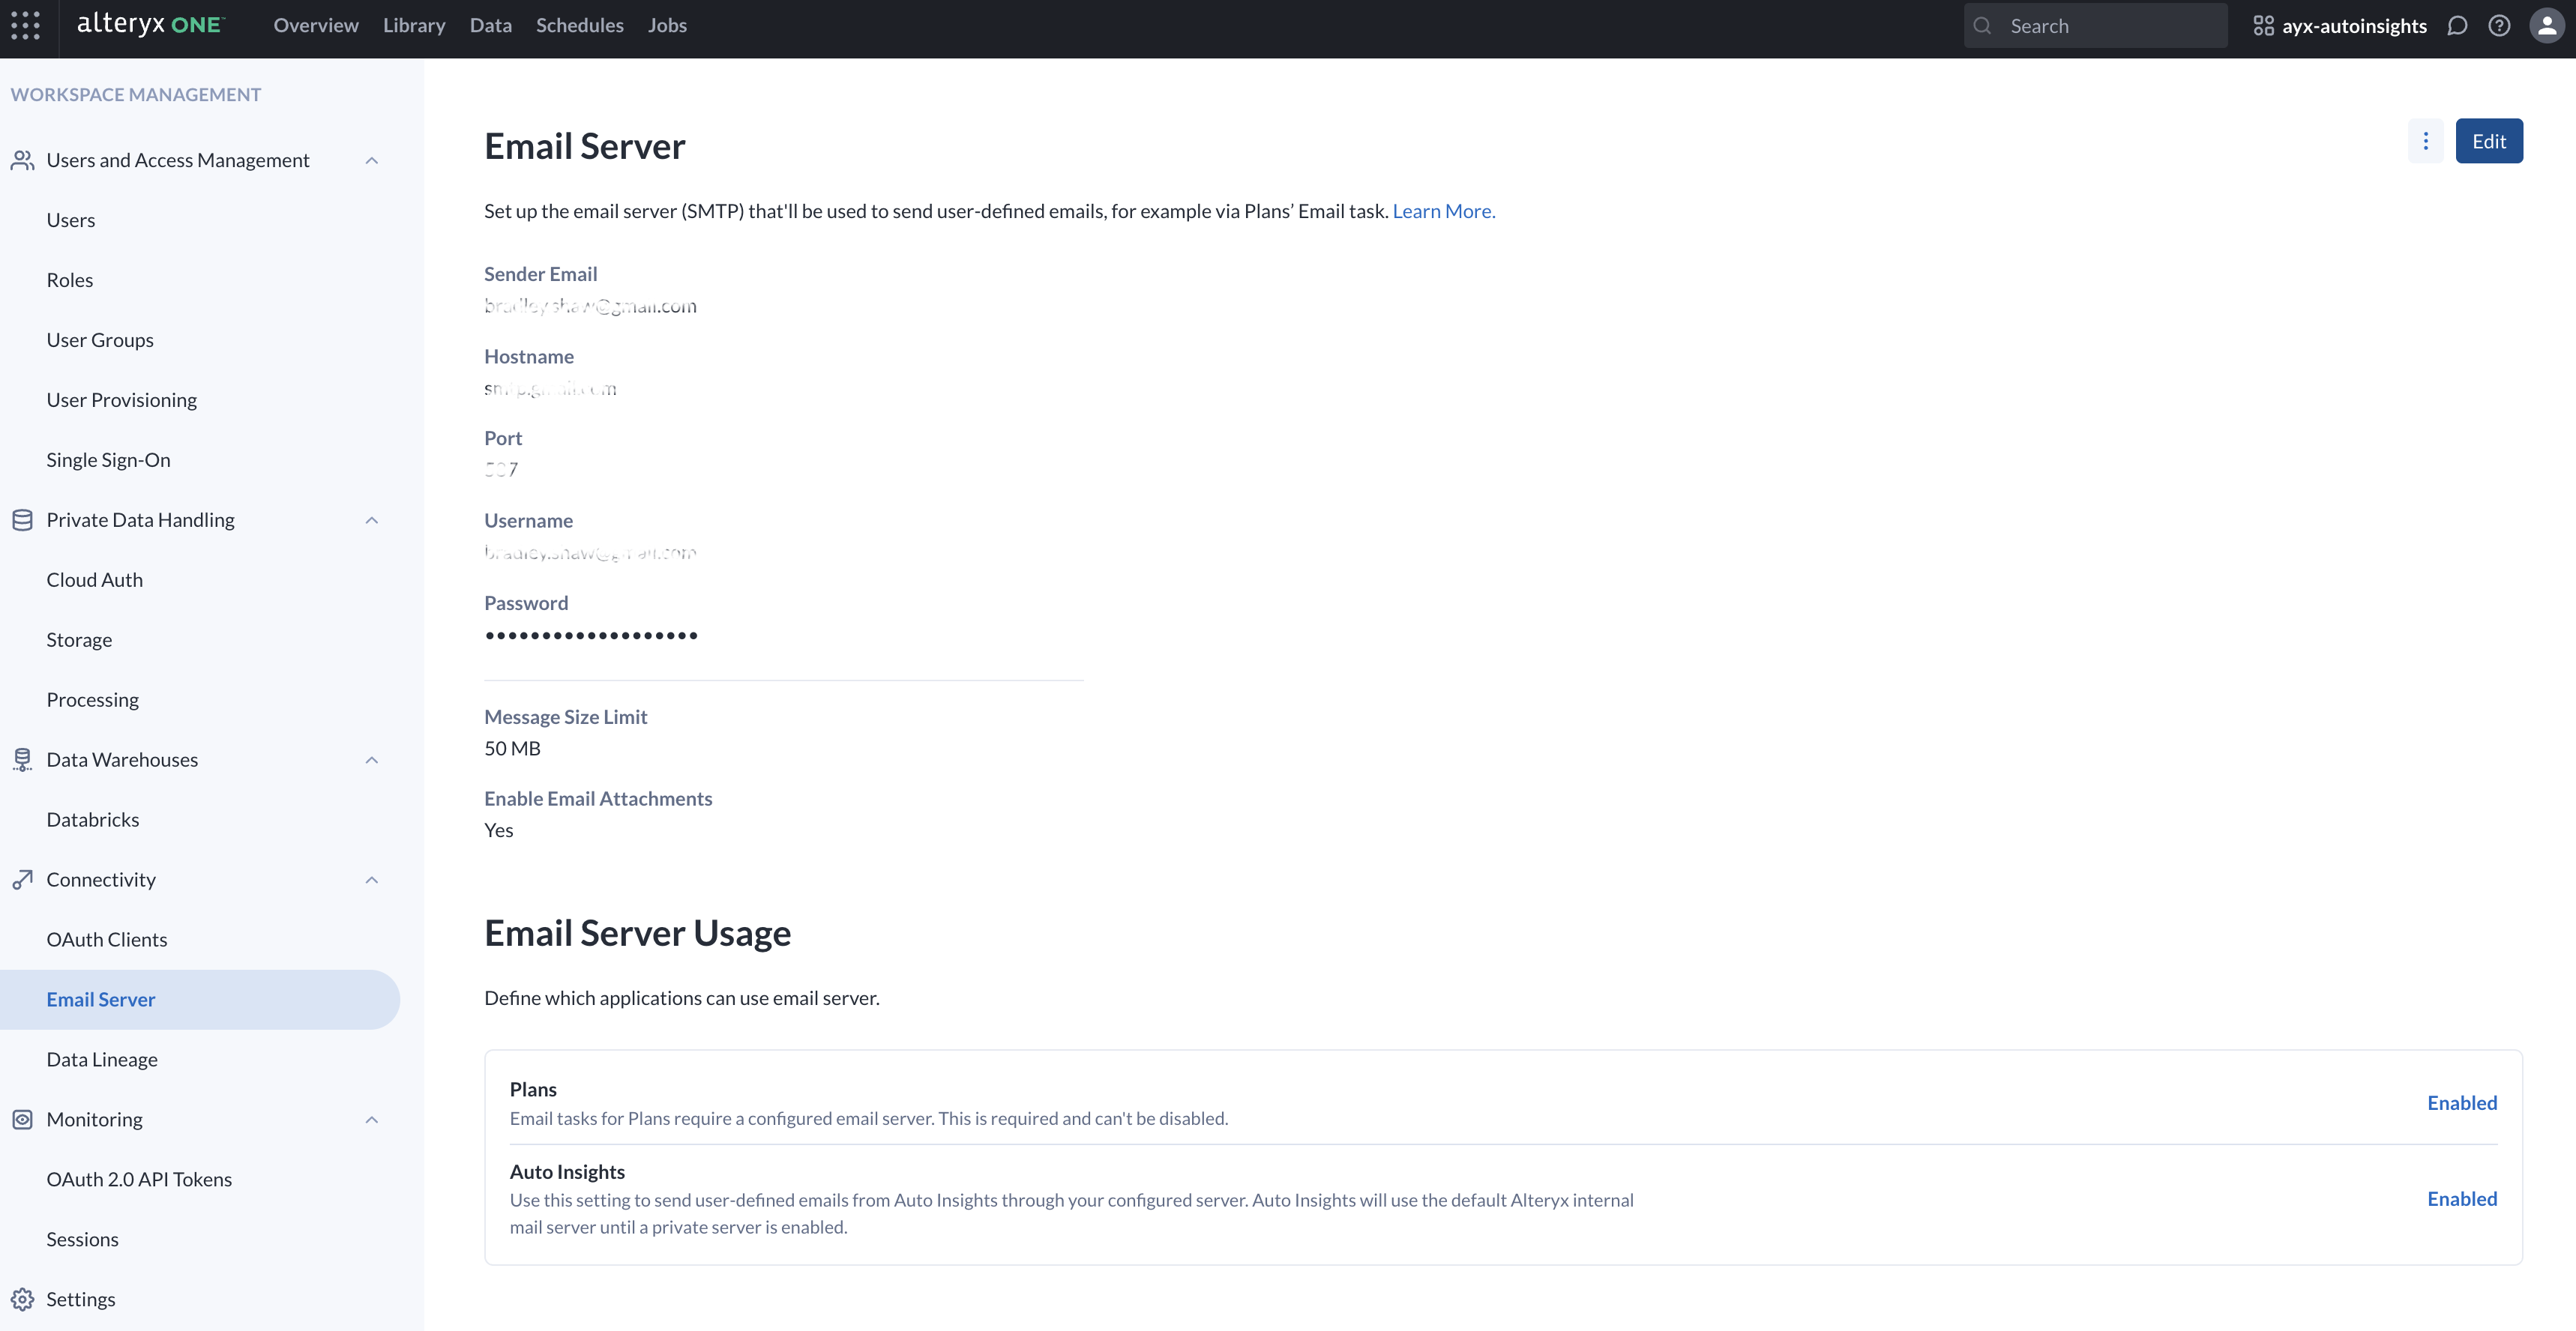
Go to Profile menu > Workspace Admin > Email Server.
Enter the Sender Email. Alteryx One will send emails from this email address.
Enter the Host URL. The host URL typically starts with
smtpormail(for example, mail.company.com).Enter the email server Port number. This value defaults to
587. To determine which port to enter, refer to your SMTP server’s documentation. These are a few example port settings:Port 25 when there is no encryption.
Port 465 for SSL/TLS encryption.
Port 587 for STARTTLS encryption.
Enter the Username and Password for the email server.
Select Send Test Email to send a test email.
If the test email is successful, a success dialog appears.
If the test email fails to send, select View Response from the error dialog to view the Server Response window.
Select Save to complete the setup.
Email Support in Alteryx One
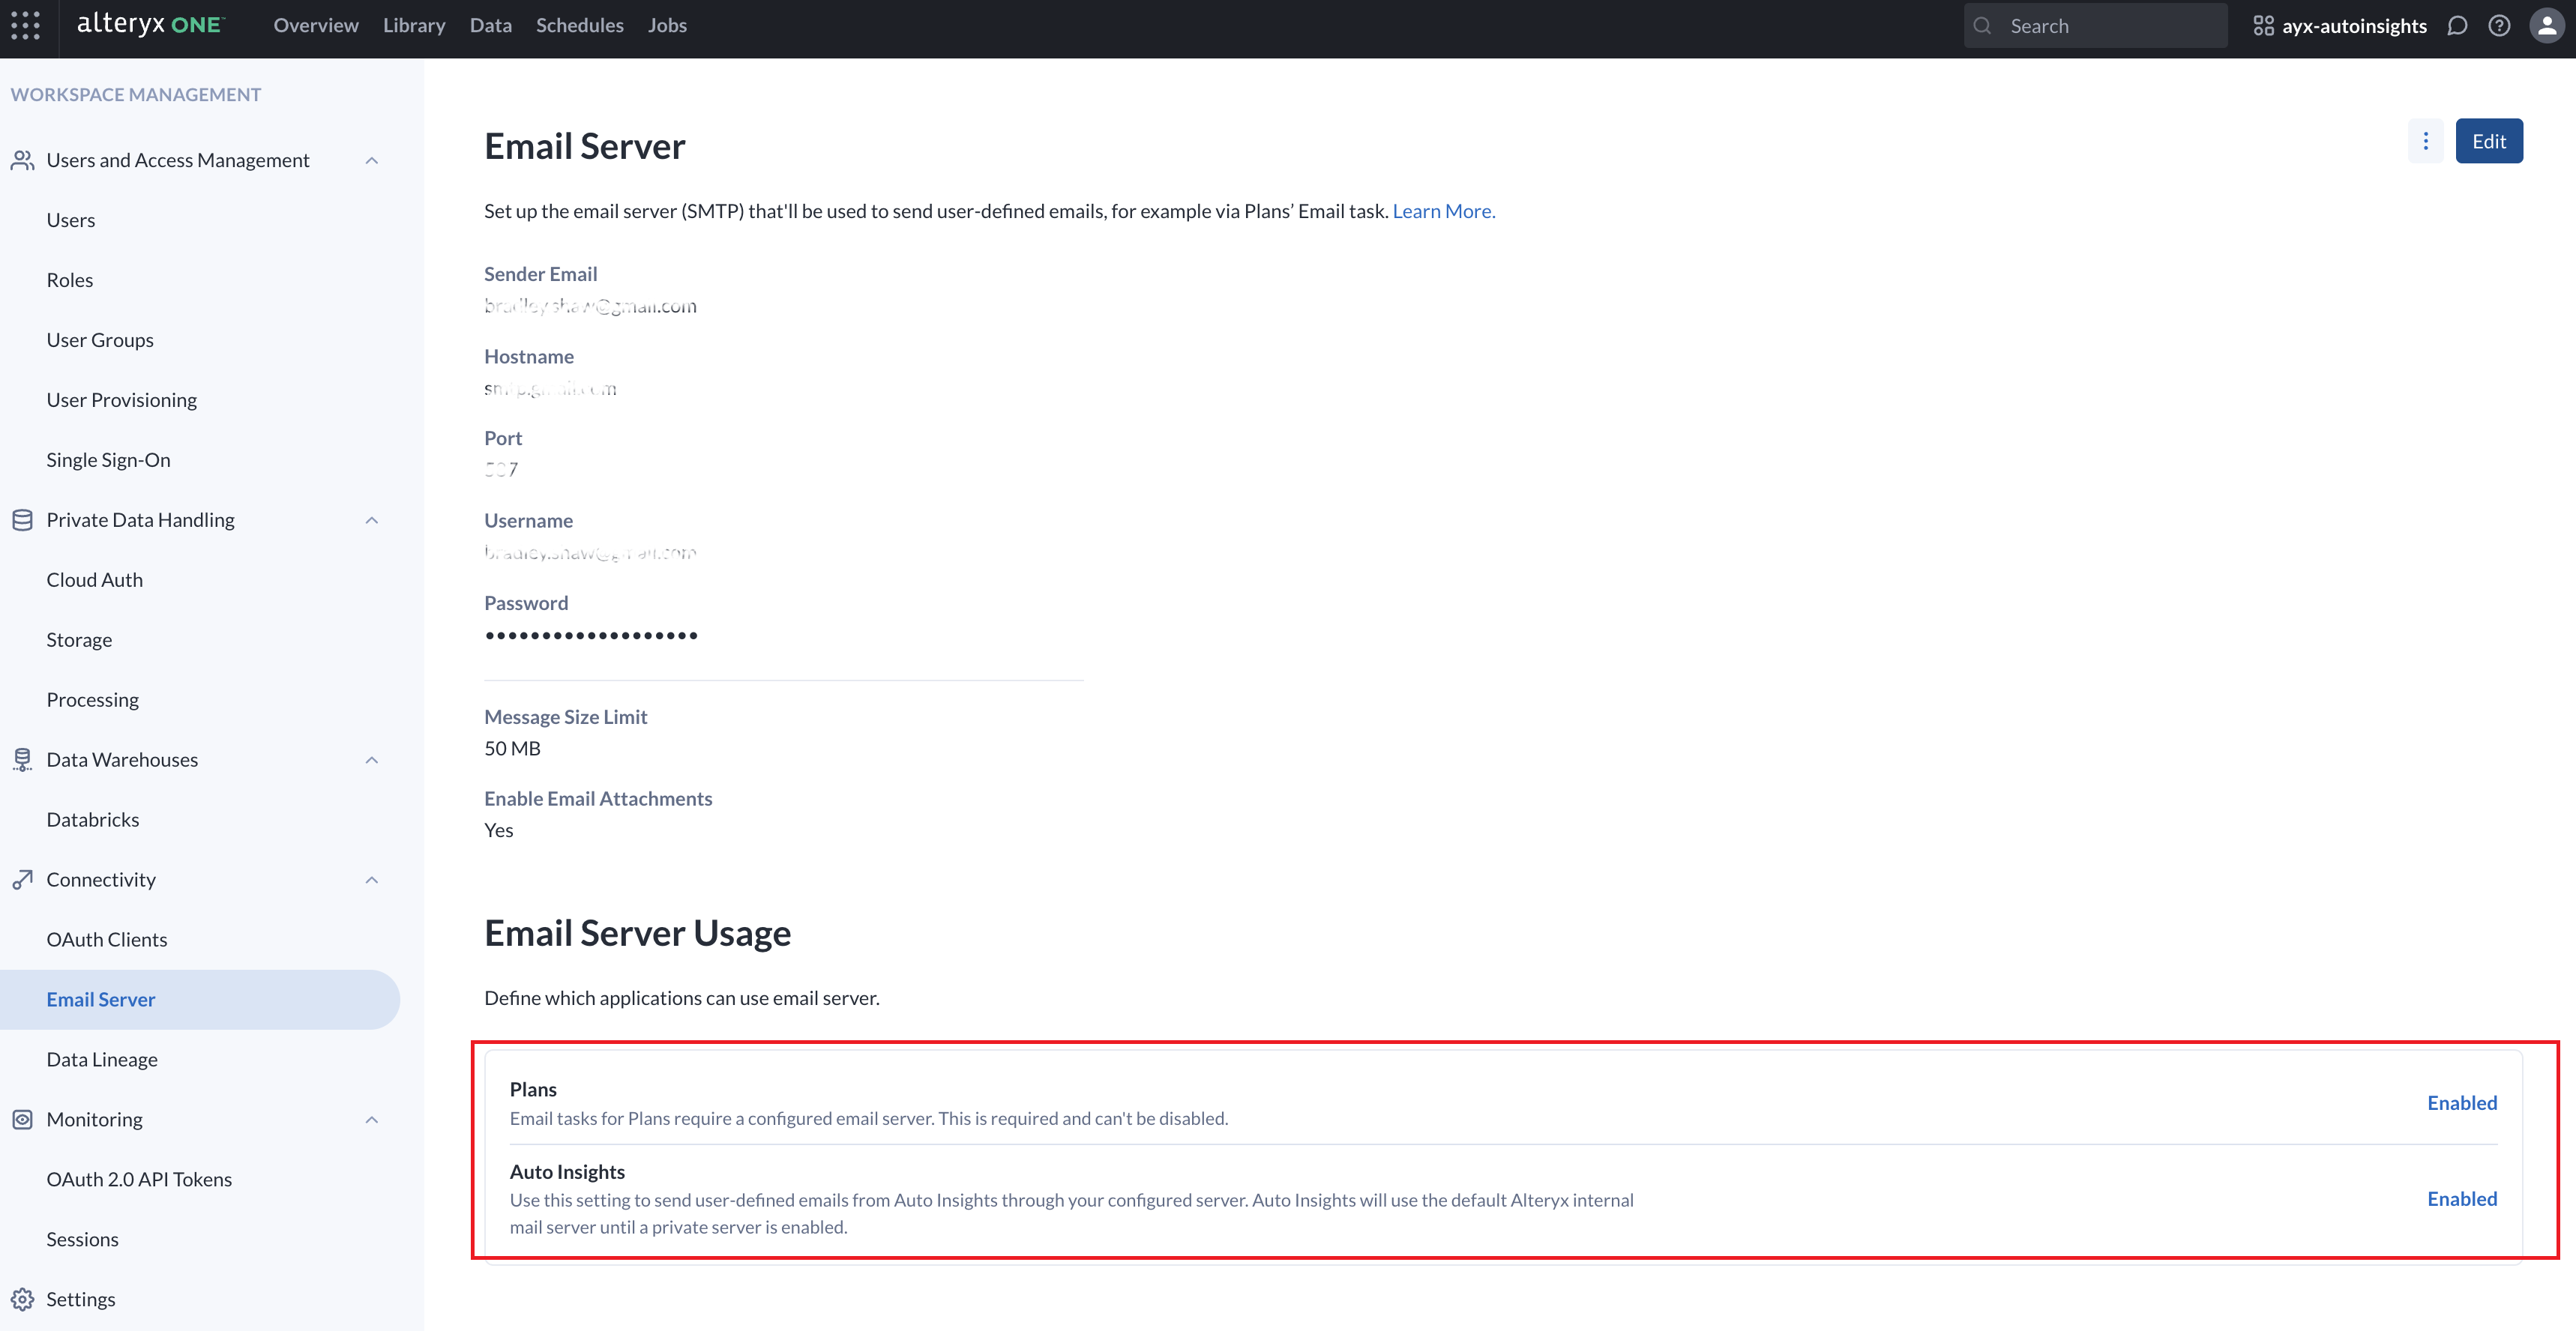
Once you’ve successfully completed the email server setup, you can send user-defined emails from these apps…
Plans: Use the Email task to send messages about plan execution. A configured email server is required and cannot be disabled.
Auto Insights: Use this setting to send user-defined emails through your configured email server. When enabled, the server also delivers mission summaries and report PDFs.